| 1.First, align the slot of the 3M mount/suction cup mount with the buckle and install it securely. | 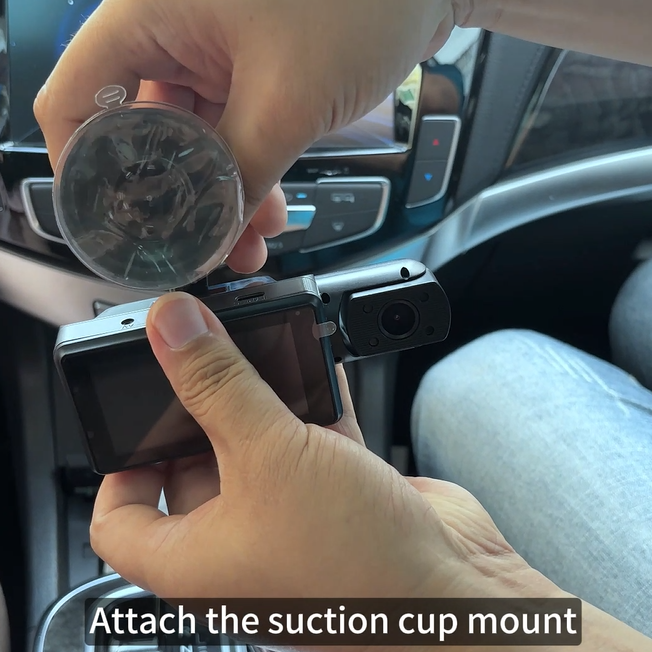 |
| 2.Clean the car window, peel off the adhesive film from the 3M mount/suction cup mount, and attach the device to a suitable position. | 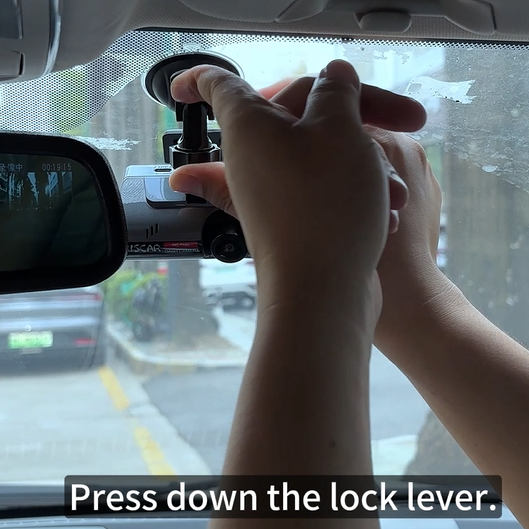 |
| 3.Connect the power cable and route it along the inner edge of the car roof lining. Starting from the A-pillar, use a pry tool to neatly tuck it into the gap along the weatherstripping. | 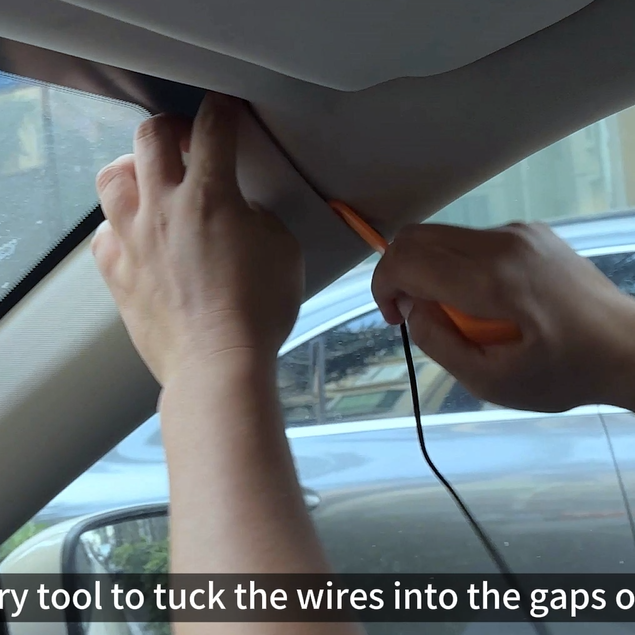 |
| 4.When routing the cable down to the car floor, store any excess cable under the carpet. Plug it into the car cigarette lighter to power on (the indicator light will turn on). The dash cam will automatically start and is ready for use. | 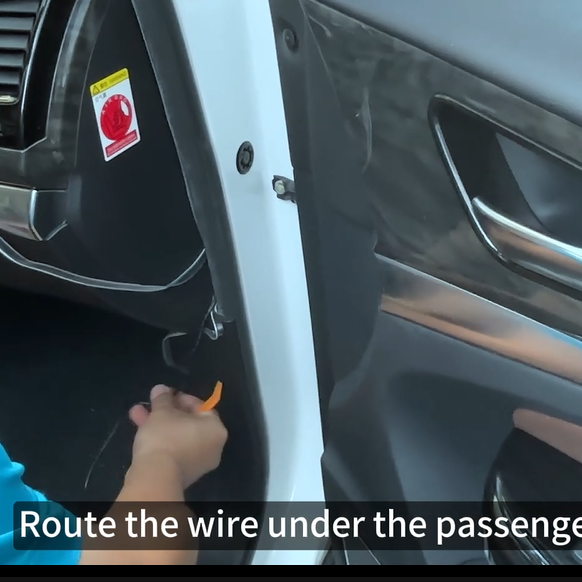 |
| 5.The indicator light is on. | 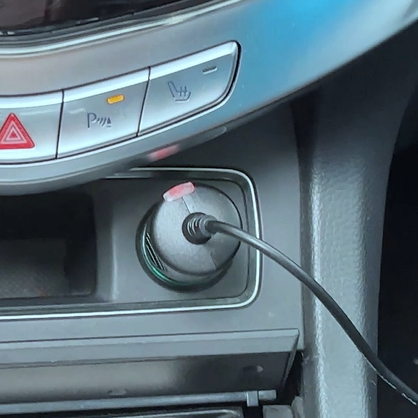 |
| 6.The dashcam starts up normally, and the installation is complete. | 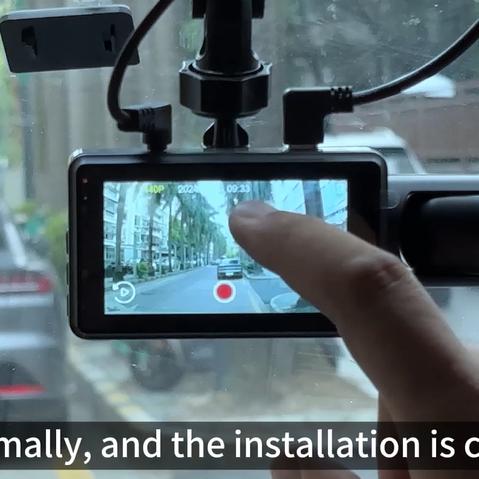 |
| 7.Find the AV connector of the front recorder and insert the corresponding connector of the rear recorder cable to make sure that the connection is tight and not loose, so as to prevent abnormal video signal transmission due to poor contact. | 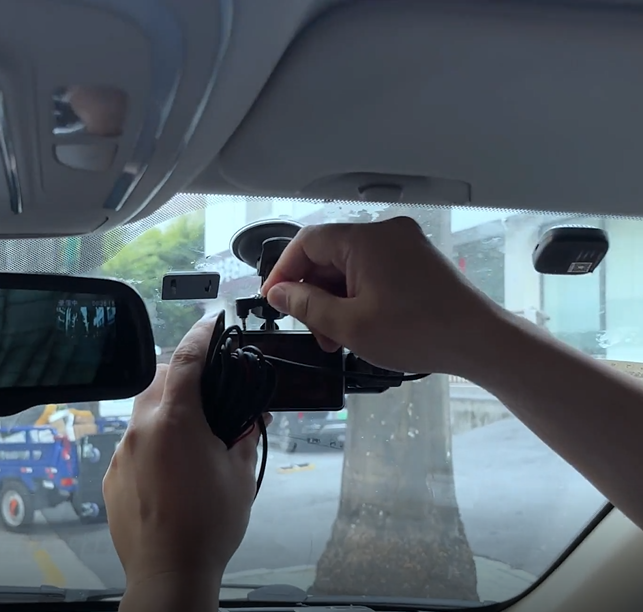 |
| 8.Use a pry bar to route the cable along the inside edge of the roof liner, starting from the end near the front recorder. Carefully insert the pry bar into the gap between the roof liner and the interior panel, pry it open moderately, and then slowly insert the rear recording lens cable. Avoid airbags, wiring and other critical components when routing, and complete the cable laying in this way. |  |
| 9.Carefully tear off the adhesive film on the rear recording lens mount, and pay attention to avoid the adhesive surface stained with dust, hair and other foreign objects to prevent the effect of the adhesive. | 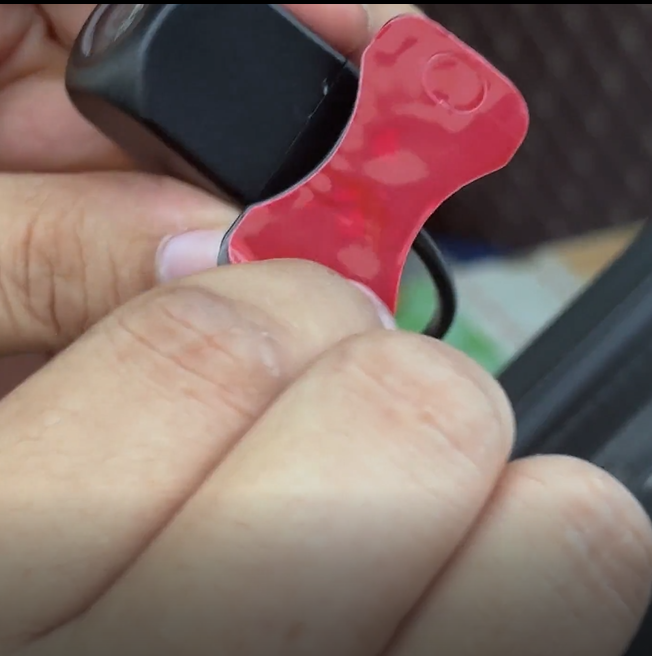 |
| 10.According to the actual situation of the rear windshield of the vehicle, choose a suitable installation position. Ensure that the lens view angle after installation can completely cover the rear area of the vehicle, and does not block the driver through the interior rearview mirror to observe the rear road conditions. |  |